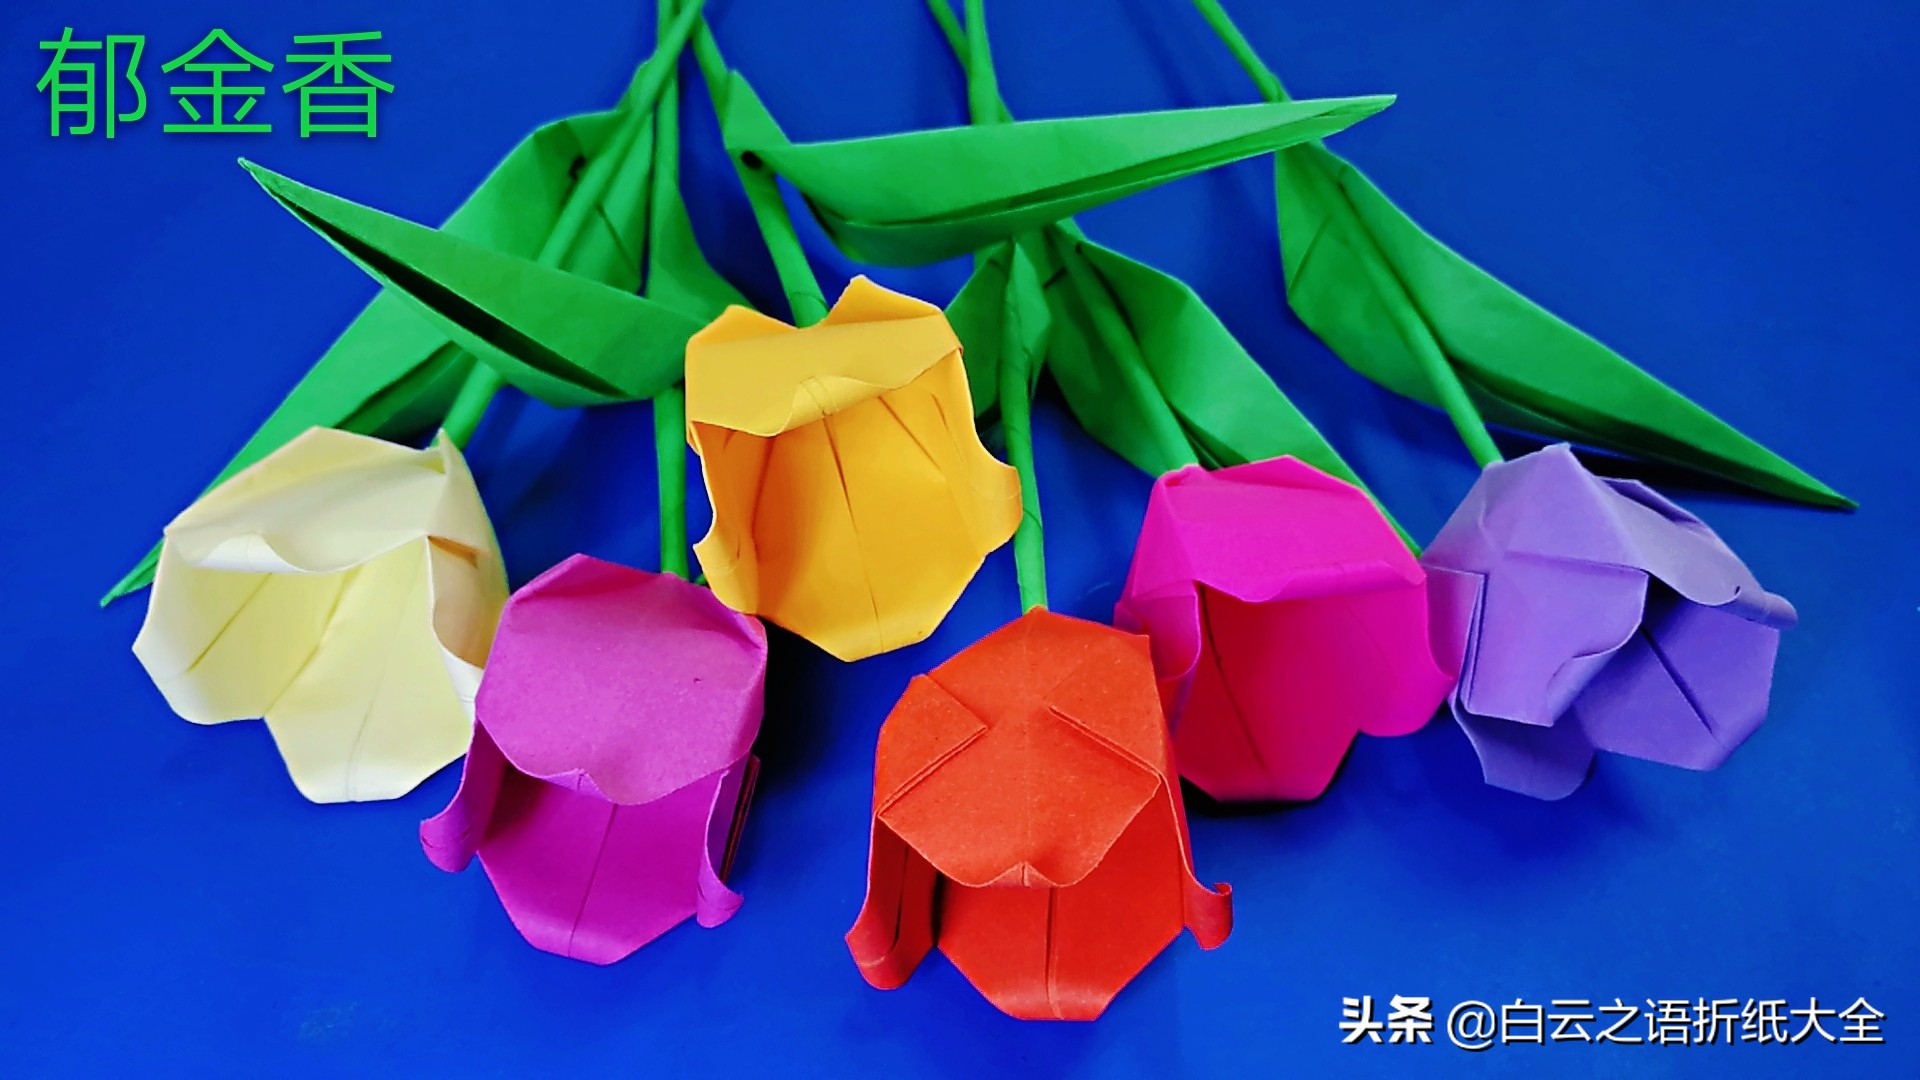
大家好,欢迎来到“白云之语折纸大全”。阳光明媚,春暖花开;春雨如油,万物复苏;微风轻轻拂过,迎面而来的是淡淡的清香味使我们无限陶醉!让我们一起来沉醉在春天的景色中!让我们一起来感受春天勃勃生机的美好气息。野外是一片花红草绿,在我们的房间里也应该充满春天的气息,此时如果折一束五颜六色的郁金香摆在客厅、摆在办公桌,是不是一样能够感受春天的美好?既能舒畅我们的心情又能久放不衰,何乐而不为?喜欢郁金香的朋友请为小编点个赞加个关注吧!
现在就让我们一起来学习郁金香的详细折纸教程图解吧。

步骤1:我们拿一张10cm左右的正方形纸,如图进行基础型对折后打开,图中出现“米字型”折痕。
#pgc-card .pgc-card-href { text-decoration: none; outline: none; display: block; width: 100%; height: 100%; } #pgc-card .pgc-card-href:hover { text-decoration: none; } /*pc 样式*/ .pgc-card { box-sizing: border-box; height: 164px; border: 1px solid #e8e8e8; position: relative; padding: 20px 94px 12px 180px; overflow: hidden; } .pgc-card::after { content: " "; display: block; border-left: 1px solid #e8e8e8; height: 120px; position: absolute; right: 76px; top: 20px; } .pgc-cover { position: absolute; width: 162px; height: 162px; top: 0; left: 0; background-size: cover; } .pgc-content { overflow: hidden; position: relative; top: 50%; -webkit-transform: translateY(-50%); transform: translateY(-50%); } .pgc-content-title { font-size: 18px; color: #222; line-height: 1; font-weight: bold; overflow: hidden; text-overflow: ellipsis; white-space: nowrap; } .pgc-content-desc { font-size: 14px; color: #444; overflow: hidden; text-overflow: ellipsis; padding-top: 9px; overflow: hidden; line-height: 1.2em; display: -webkit-inline-box; -webkit-line-clamp: 2; -webkit-box-orient: vertical; } .pgc-content-price { font-size: 22px; color: #f85959; padding-top: 18px; line-height: 1em; } .pgc-card-buy { width: 75px; position: absolute; right: 0; top: 50px; color: #406599; font-size: 14px; text-align: center; } .pgc-buy-text { padding-top: 10px; } .pgc-icon-buy { height: 23px; width: 20px; display: inline-block; background: url(https://lf6-cdn-tos.bytescm.com/obj/cdn-static-resource/pgc/v2/pgc_tpl/static/image/commodity_buy_f2b4d1a.png); }步骤2:把四个角往中间对折。
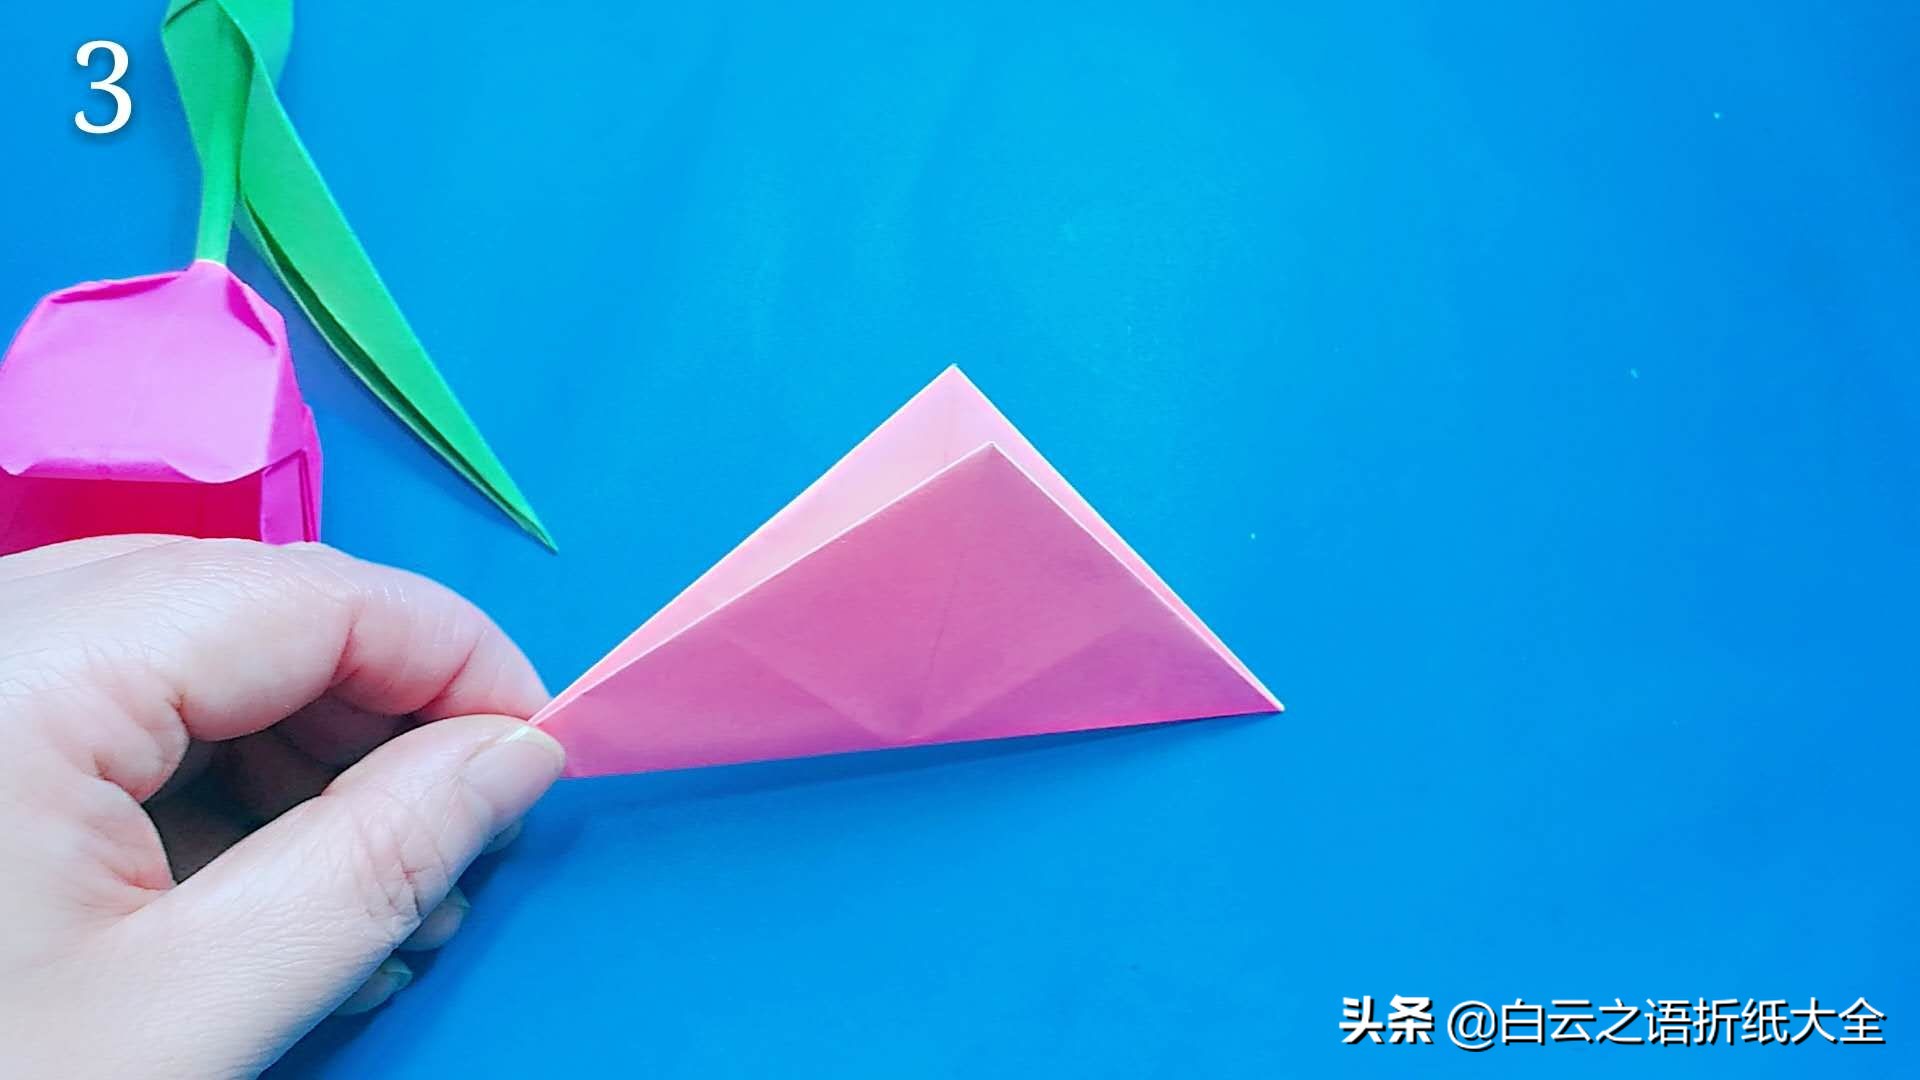
步骤3:两个角进行对折。

步骤4:左右两个角进行对折,也就是说这两步是进行2次的对折。
#pgc-card .pgc-card-href { text-decoration: none; outline: none; display: block; width: 100%; height: 100%; } #pgc-card .pgc-card-href:hover { text-decoration: none; } /*pc 样式*/ .pgc-card { box-sizing: border-box; height: 164px; border: 1px solid #e8e8e8; position: relative; padding: 20px 94px 12px 180px; overflow: hidden; } .pgc-card::after { content: " "; display: block; border-left: 1px solid #e8e8e8; height: 120px; position: absolute; right: 76px; top: 20px; } .pgc-cover { position: absolute; width: 162px; height: 162px; top: 0; left: 0; background-size: cover; } .pgc-content { overflow: hidden; position: relative; top: 50%; -webkit-transform: translateY(-50%); transform: translateY(-50%); } .pgc-content-title { font-size: 18px; color: #222; line-height: 1; font-weight: bold; overflow: hidden; text-overflow: ellipsis; white-space: nowrap; } .pgc-content-desc { font-size: 14px; color: #444; overflow: hidden; text-overflow: ellipsis; padding-top: 9px; overflow: hidden; line-height: 1.2em; display: -webkit-inline-box; -webkit-line-clamp: 2; -webkit-box-orient: vertical; } .pgc-content-price { font-size: 22px; color: #f85959; padding-top: 18px; line-height: 1em; } .pgc-card-buy { width: 75px; position: absolute; right: 0; top: 50px; color: #406599; font-size: 14px; text-align: center; } .pgc-buy-text { padding-top: 10px; } .pgc-icon-buy { height: 23px; width: 20px; display: inline-block; background: url(https://lf6-cdn-tos.bytescm.com/obj/cdn-static-resource/pgc/v2/pgc_tpl/static/image/commodity_buy_f2b4d1a.png); }步骤5:把一个角拉起,里面撑开向下压出正方形形状。
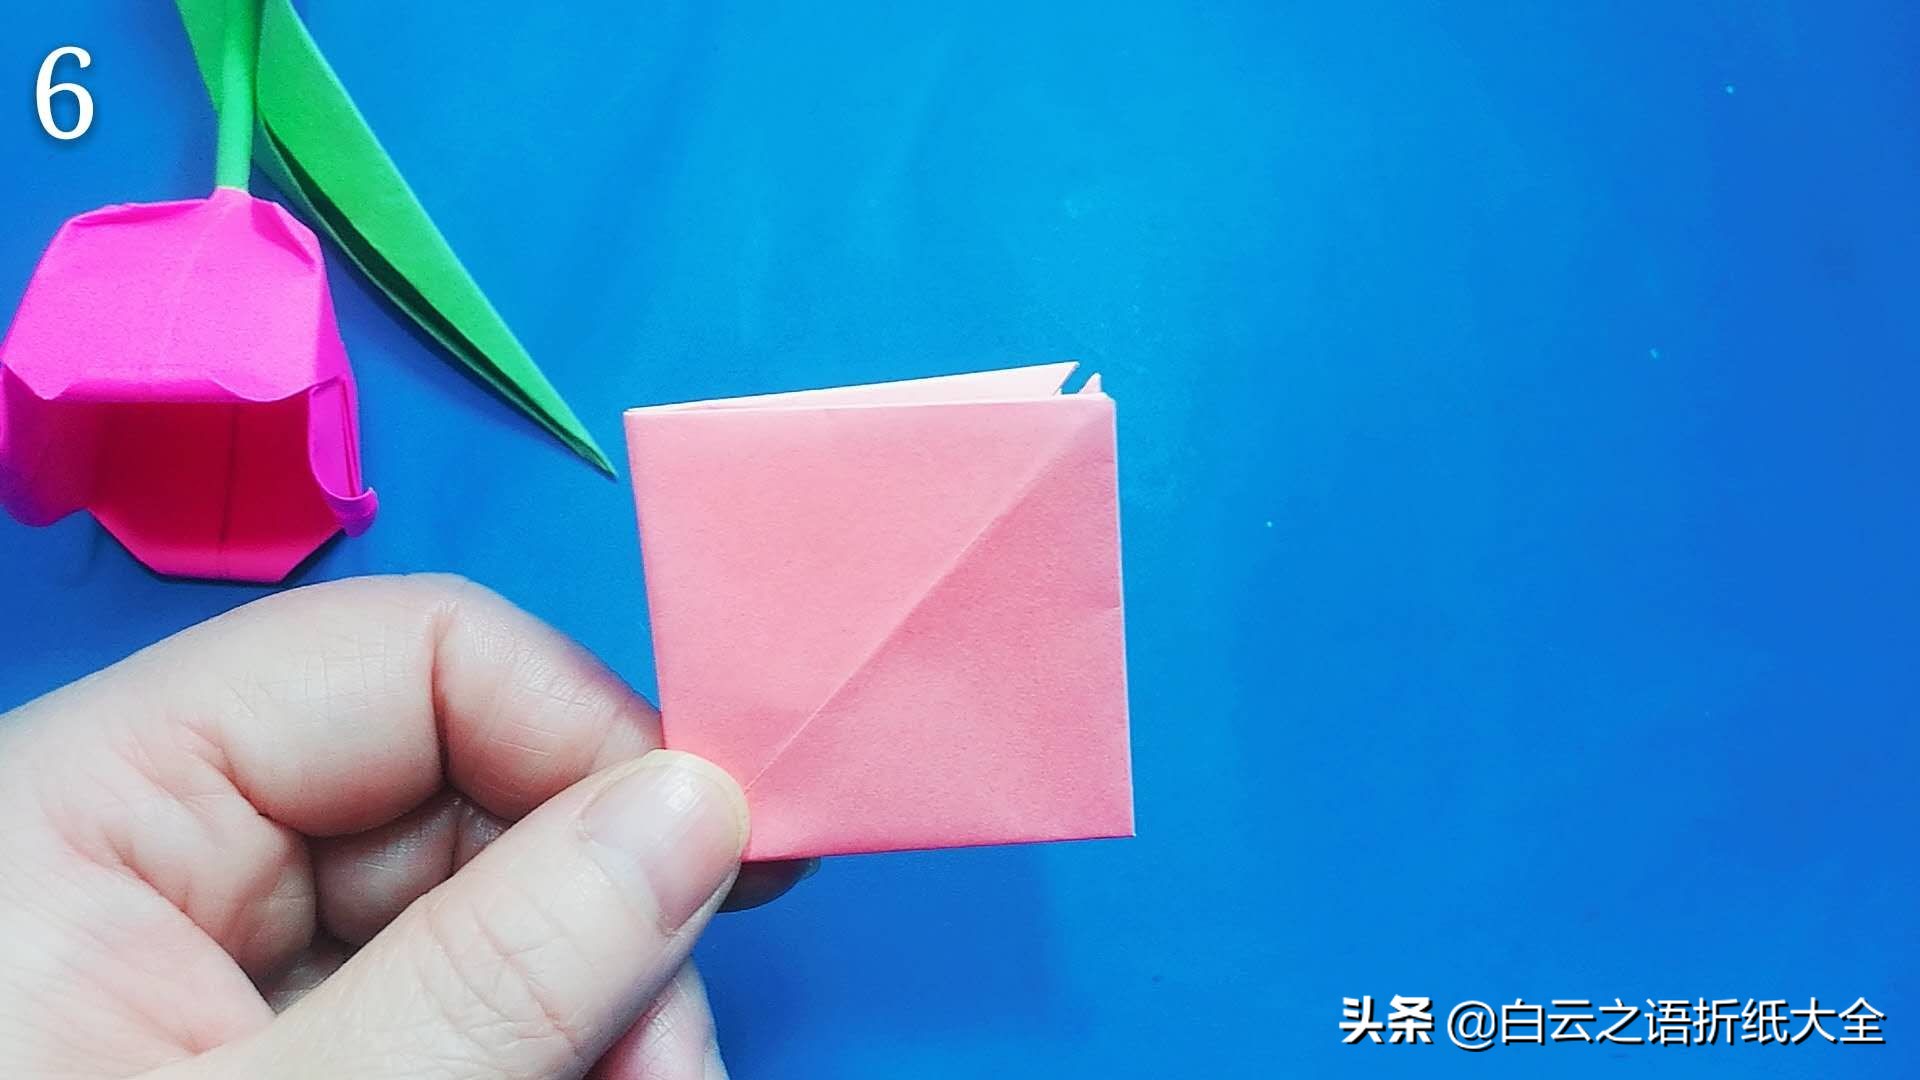
步骤6:反面的一个角也下压折出三角形,这就是我们常用的“双四方形”折法。
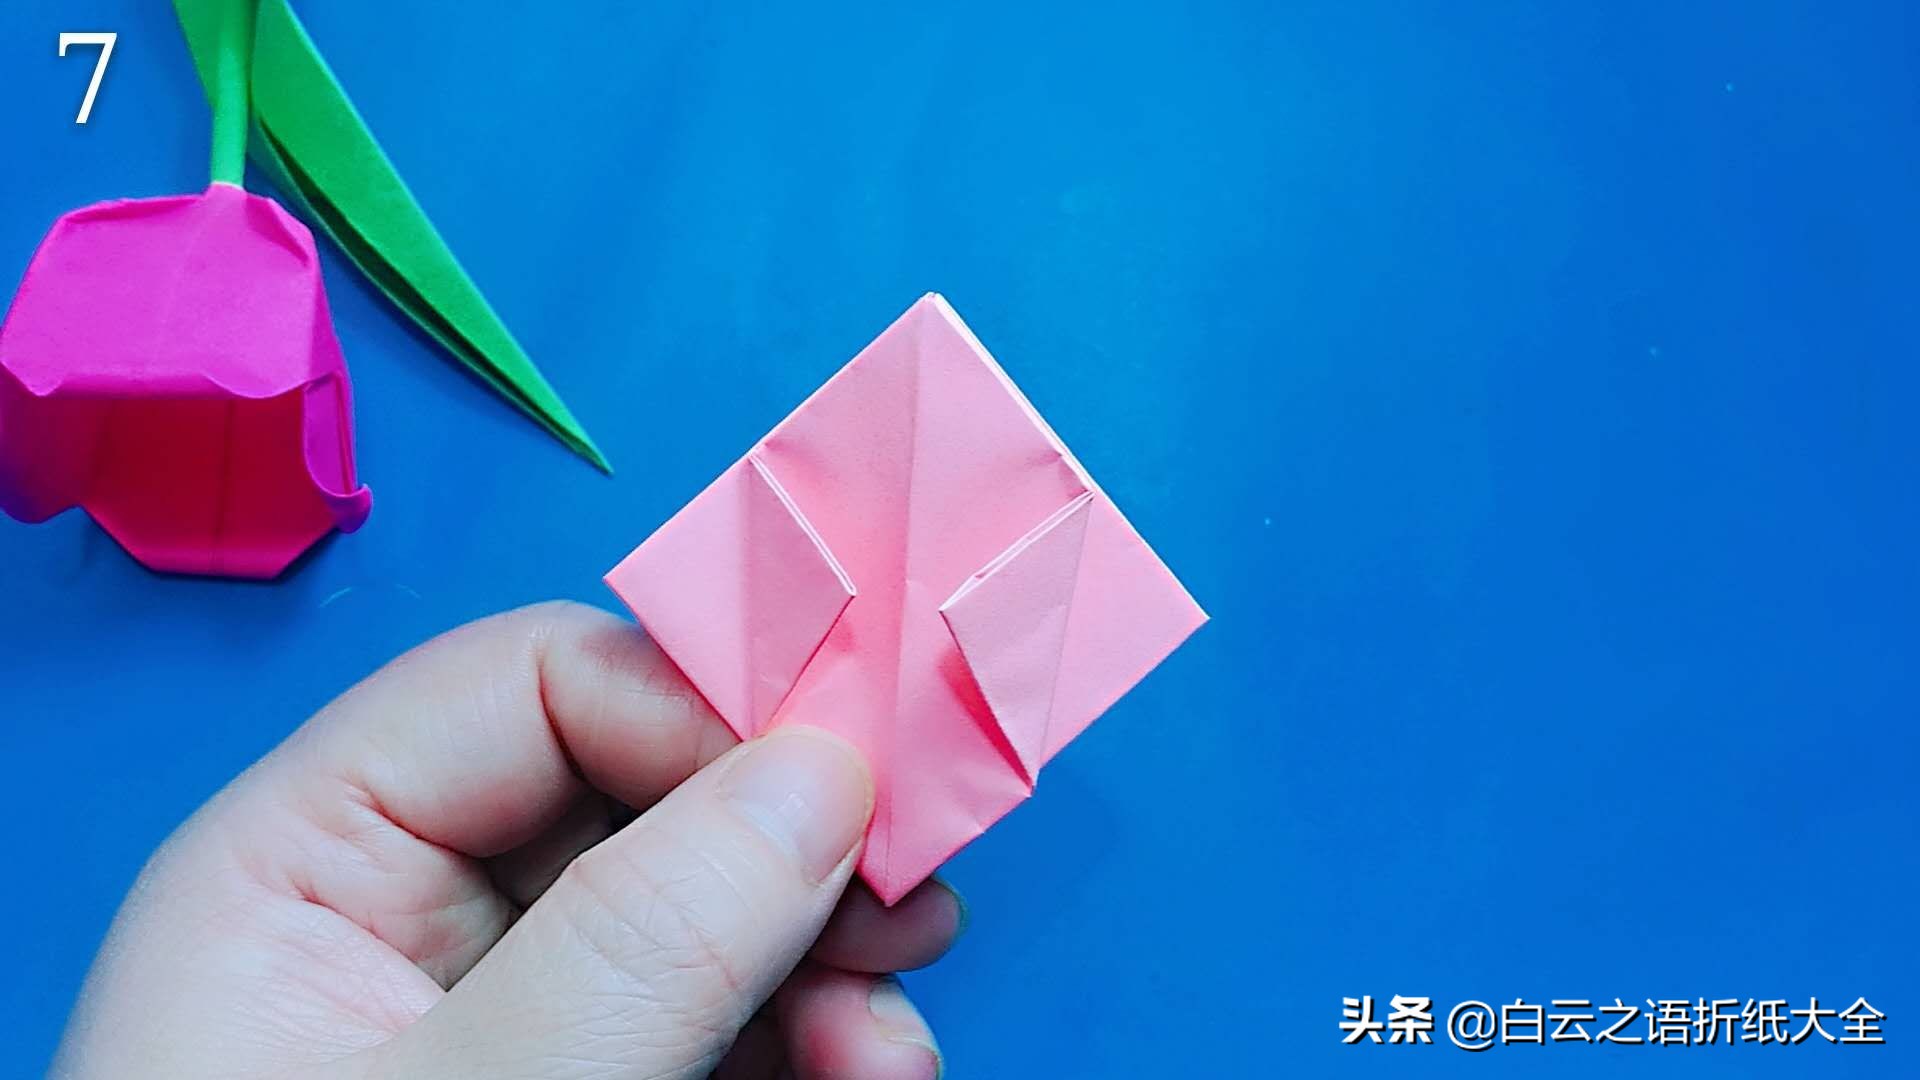
步骤7:我们把两边的角对折到中间(如图)。
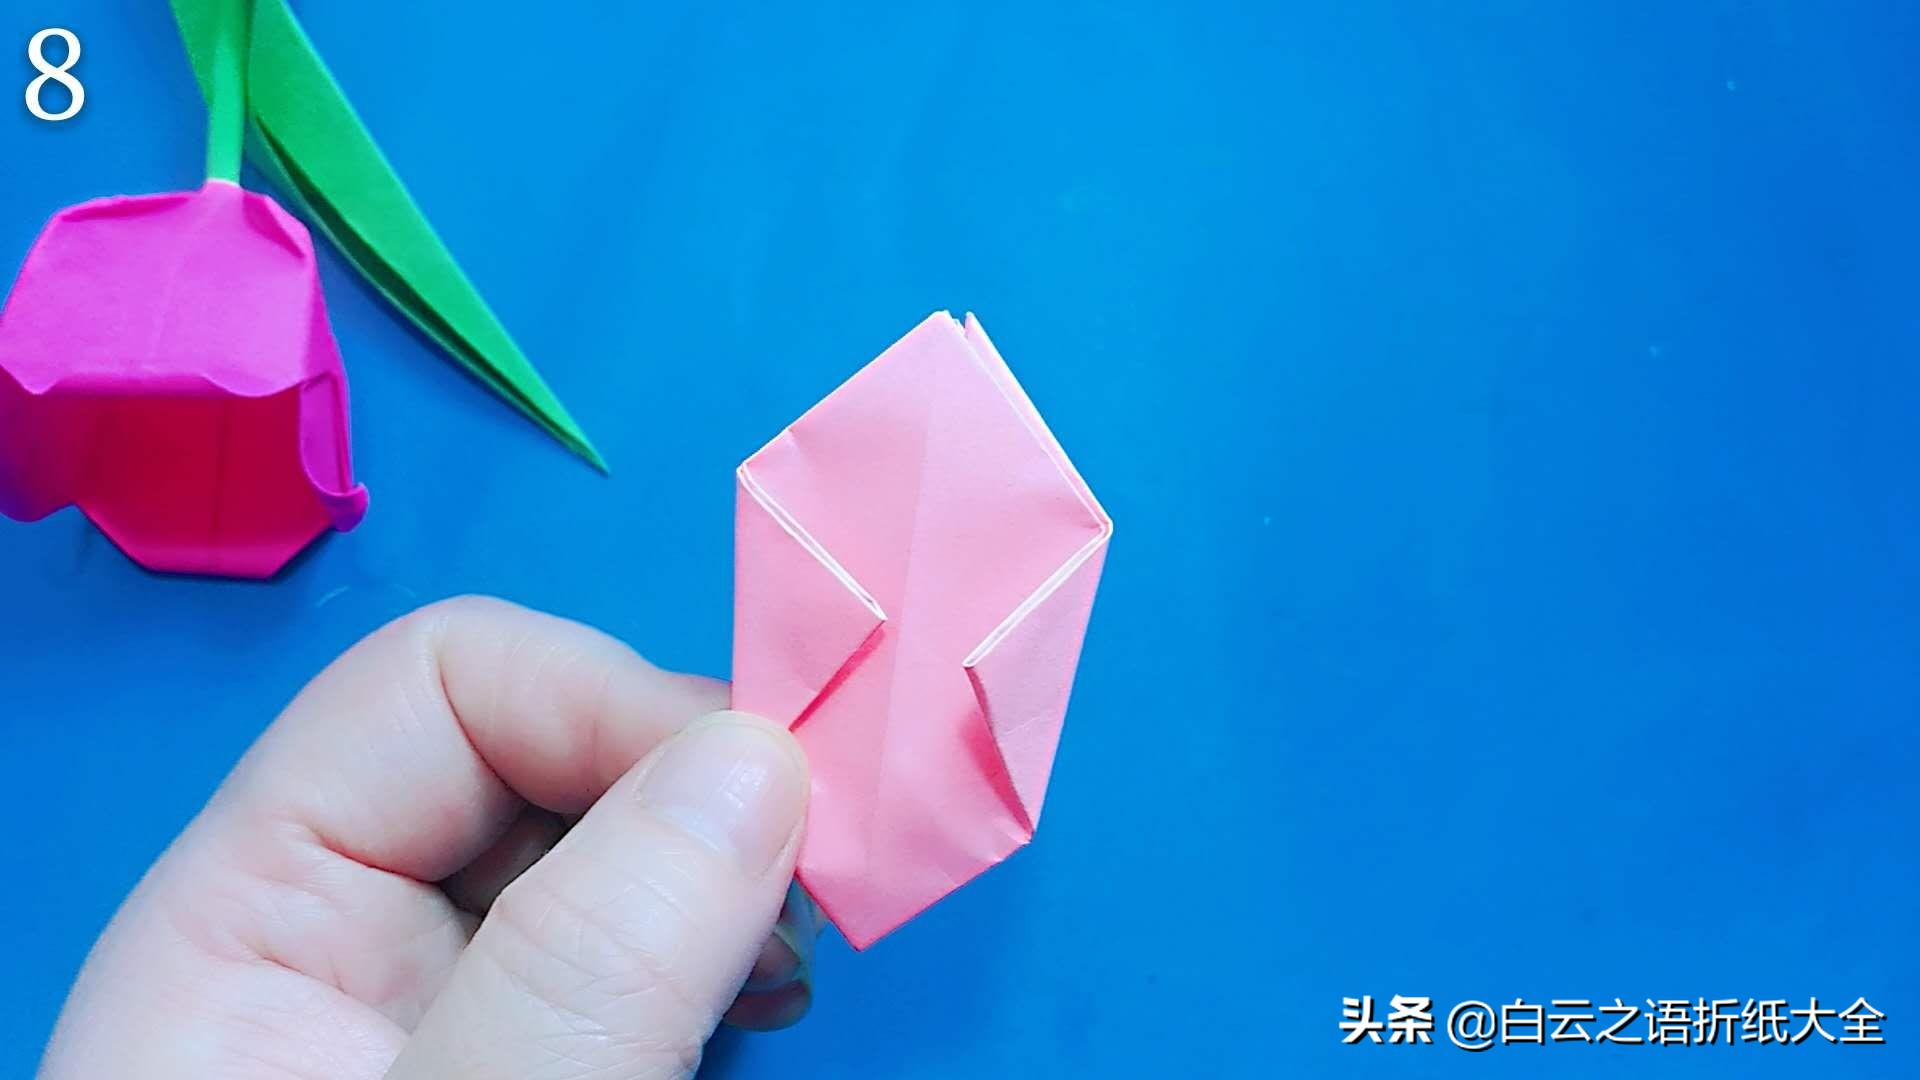
步骤8:另一面也是同样的折法。
#pgc-card .pgc-card-href { text-decoration: none; outline: none; display: block; width: 100%; height: 100%; } #pgc-card .pgc-card-href:hover { text-decoration: none; } /*pc 样式*/ .pgc-card { box-sizing: border-box; height: 164px; border: 1px solid #e8e8e8; position: relative; padding: 20px 94px 12px 180px; overflow: hidden; } .pgc-card::after { content: " "; display: block; border-left: 1px solid #e8e8e8; height: 120px; position: absolute; right: 76px; top: 20px; } .pgc-cover { position: absolute; width: 162px; height: 162px; top: 0; left: 0; background-size: cover; } .pgc-content { overflow: hidden; position: relative; top: 50%; -webkit-transform: translateY(-50%); transform: translateY(-50%); } .pgc-content-title { font-size: 18px; color: #222; line-height: 1; font-weight: bold; overflow: hidden; text-overflow: ellipsis; white-space: nowrap; } .pgc-content-desc { font-size: 14px; color: #444; overflow: hidden; text-overflow: ellipsis; padding-top: 9px; overflow: hidden; line-height: 1.2em; display: -webkit-inline-box; -webkit-line-clamp: 2; -webkit-box-orient: vertical; } .pgc-content-price { font-size: 22px; color: #f85959; padding-top: 18px; line-height: 1em; } .pgc-card-buy { width: 75px; position: absolute; right: 0; top: 50px; color: #406599; font-size: 14px; text-align: center; } .pgc-buy-text { padding-top: 10px; } .pgc-icon-buy { height: 23px; width: 20px; display: inline-block; background: url(https://lf6-cdn-tos.bytescm.com/obj/cdn-static-resource/pgc/v2/pgc_tpl/static/image/commodity_buy_f2b4d1a.png); }步骤9:我们把第8步的两面分别进行对折,这样四个对折到中间的角就隐藏到里面变成了侧面,而我们现在看到的正反两面刚好是平面的。

步骤10:我们把没有开口的这一头作为郁金香的底部,然后把底部两边都对折到中间位置。
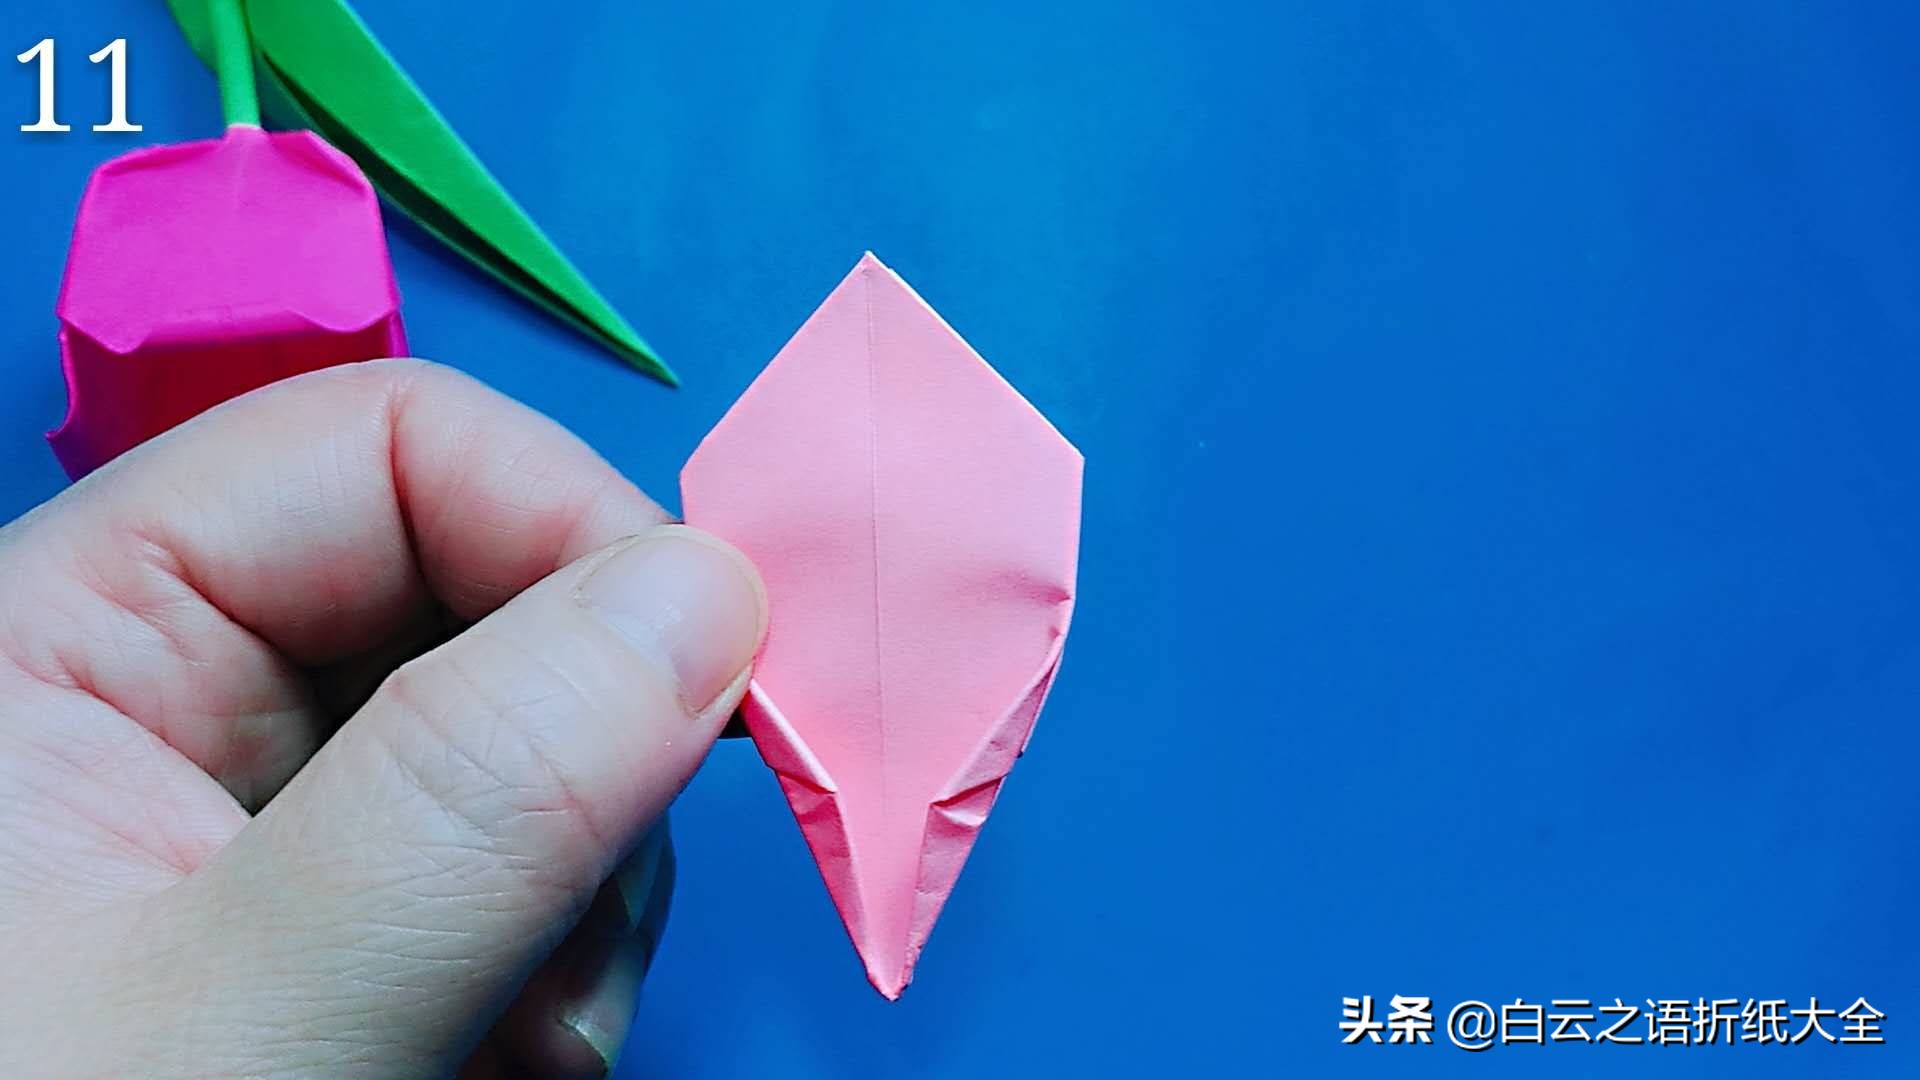
步骤11:另一面也是同样的折法。
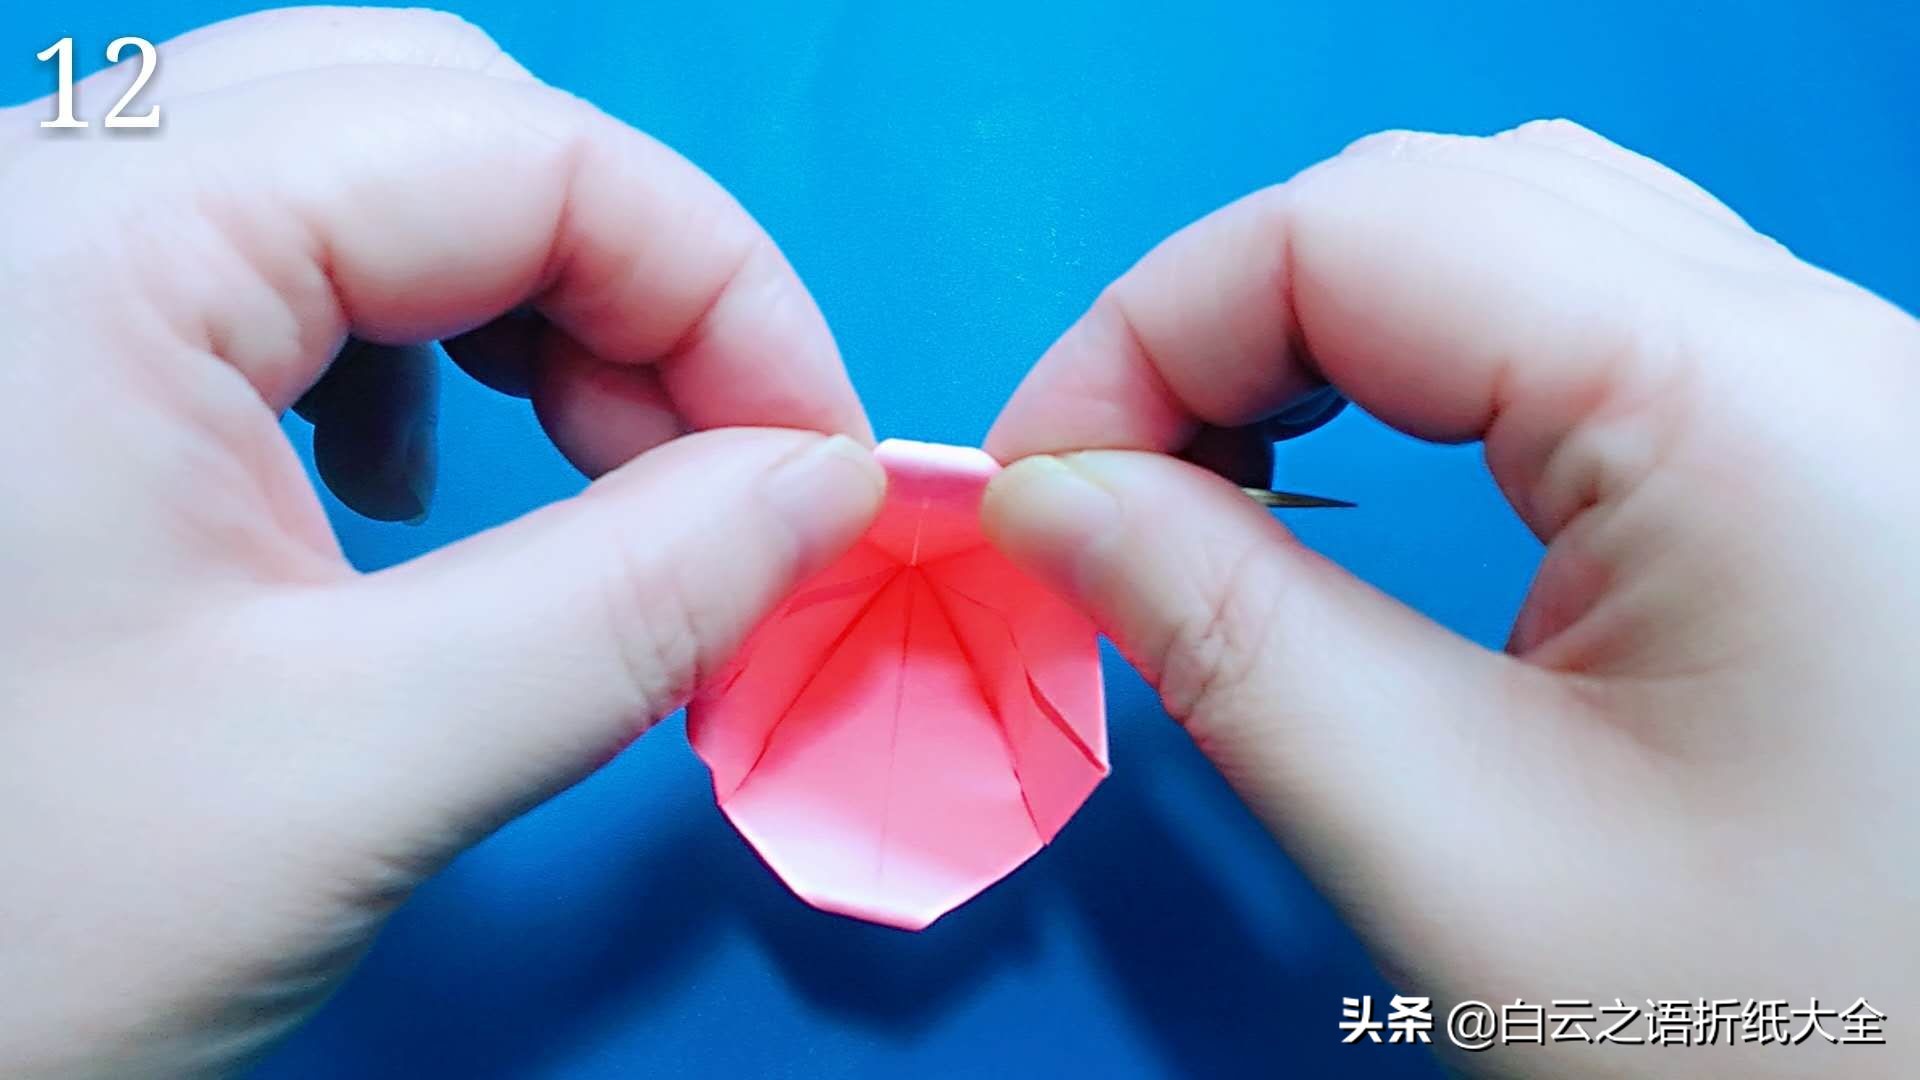
步骤12:另一头我们把里面微微撑开,用牙签卷四个花边。
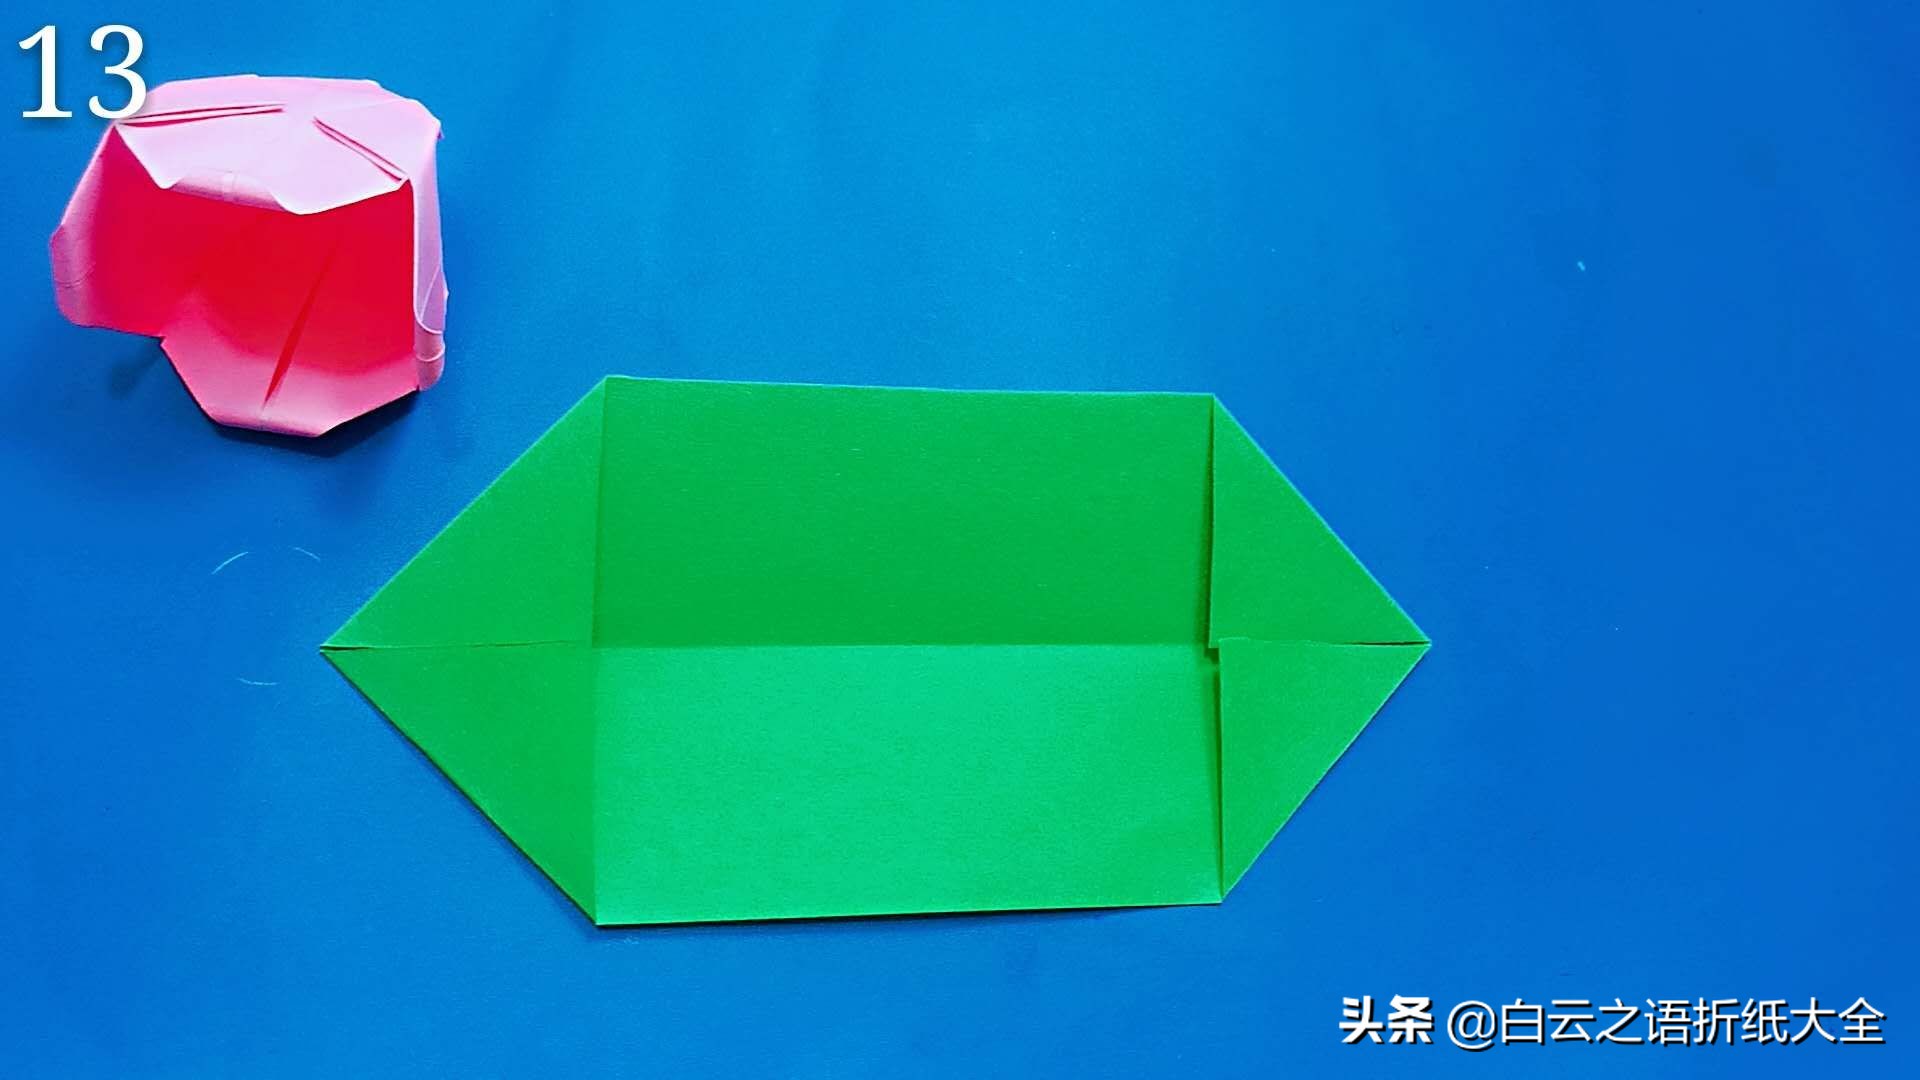
步骤13:花边卷好后郁金香花就折好了,接下来我们拿一张7.5x15cm的长方形绿色纸来折绿叶。们先把上下两边对折到中间,再把左右两边的角都对折的中间(如图)。

步骤14:把左边再次对折到中间位置。
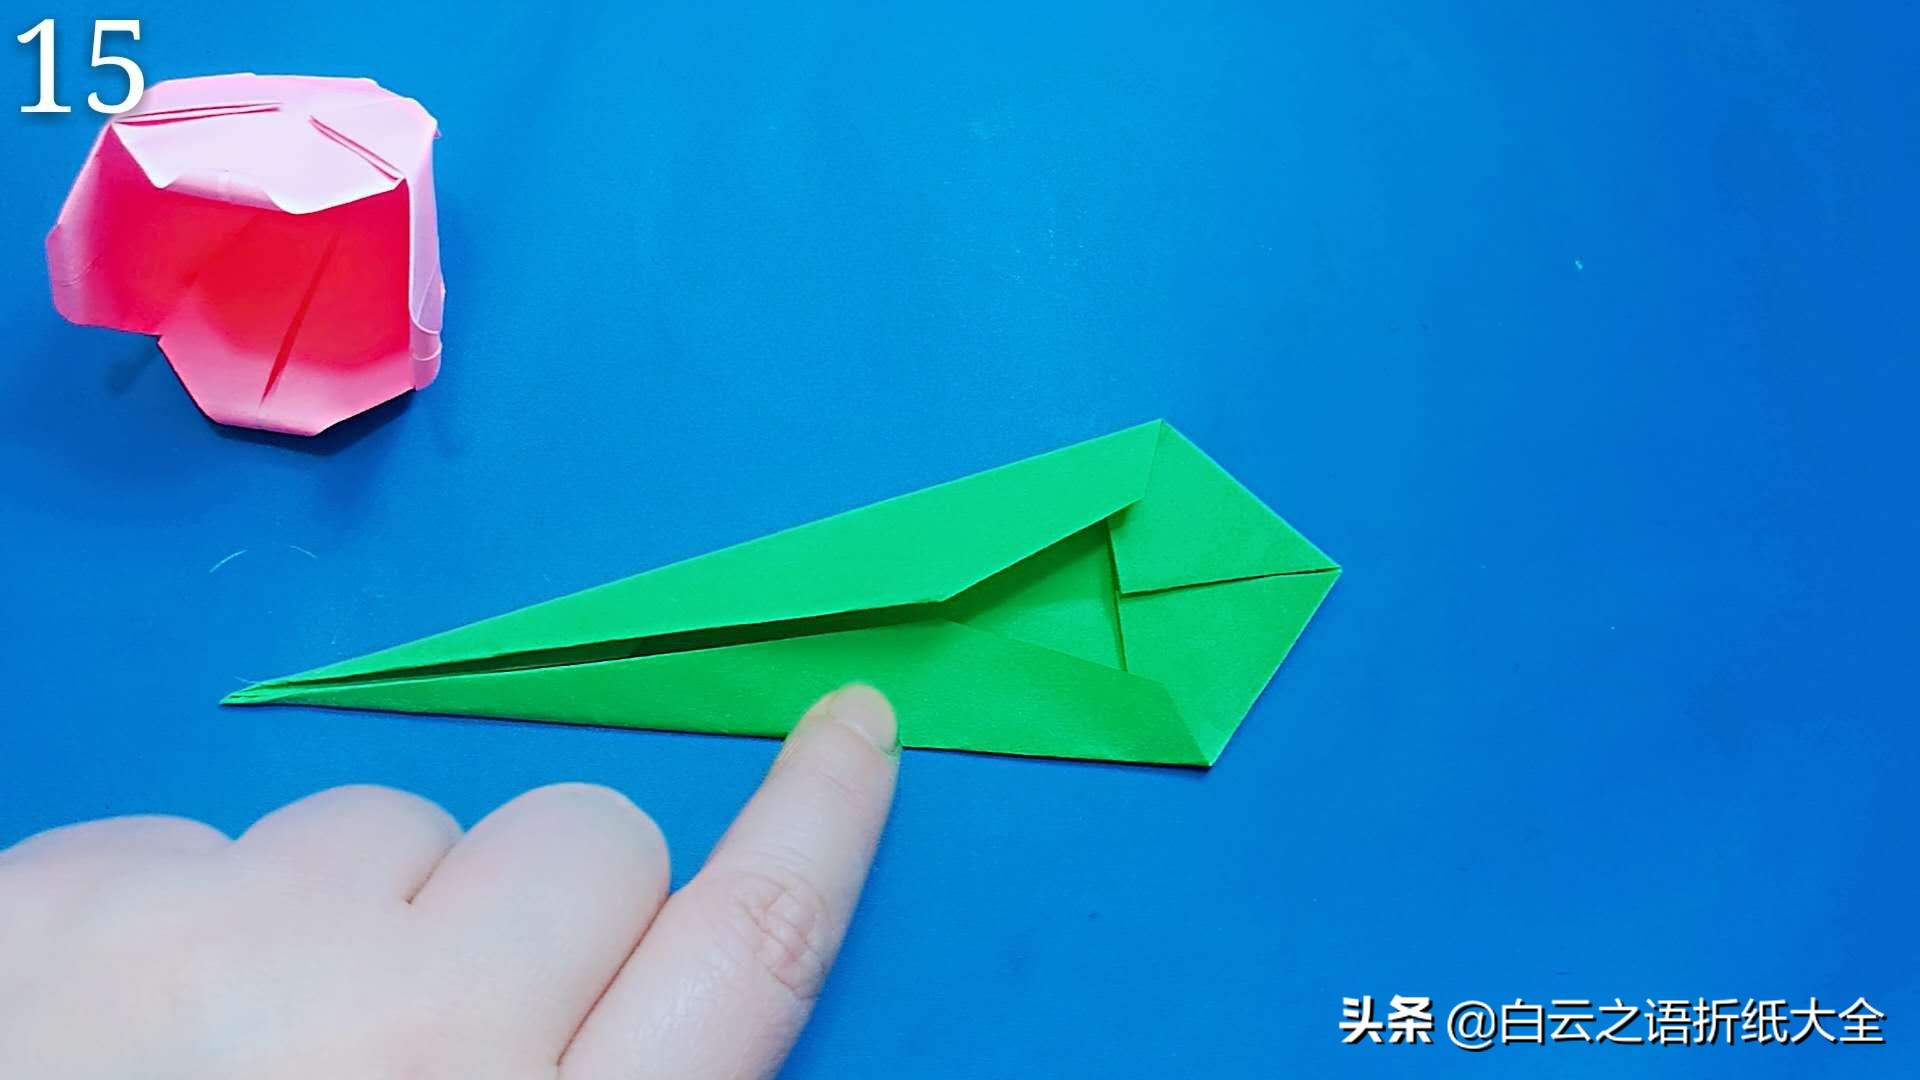
步骤15:把左边第三次对折到中间位置。
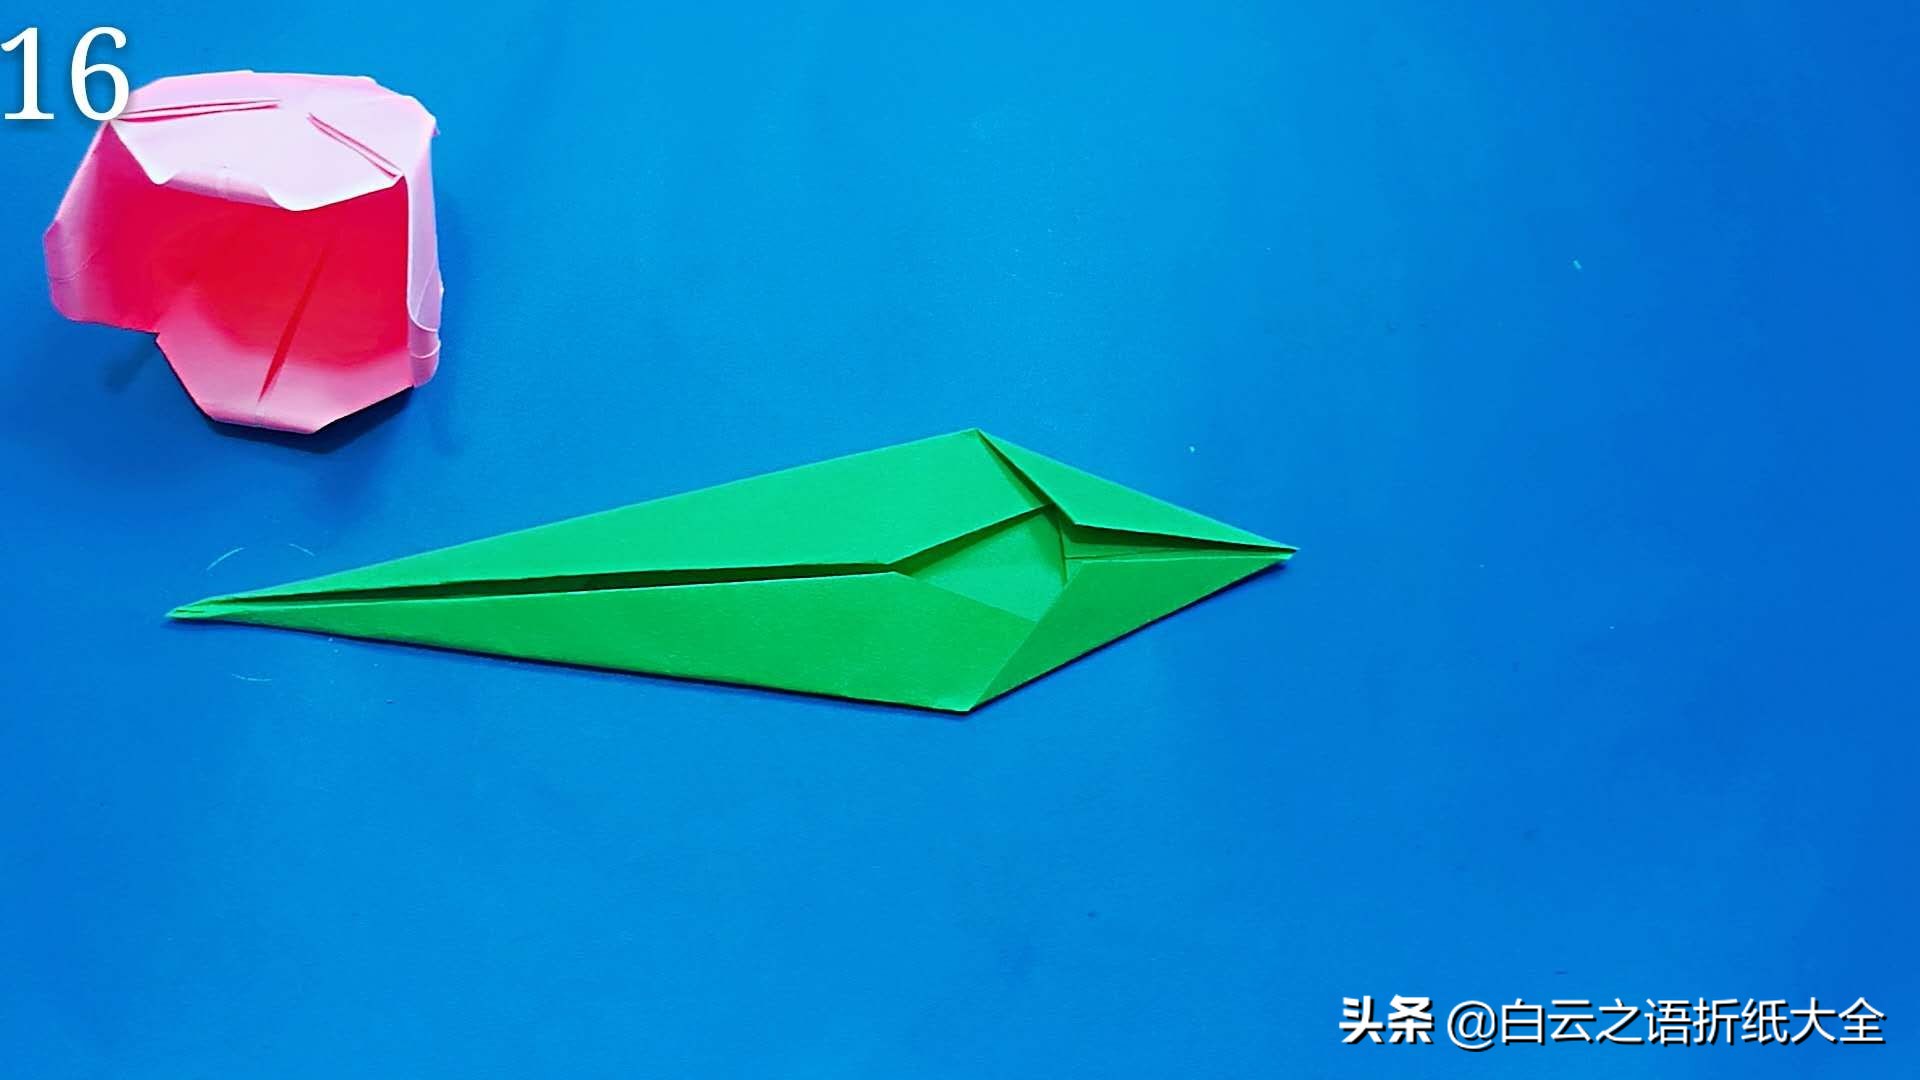
步骤16:右边第二次对折到中间位置,一片叶子就这样折好了,接下来我们折花杆。
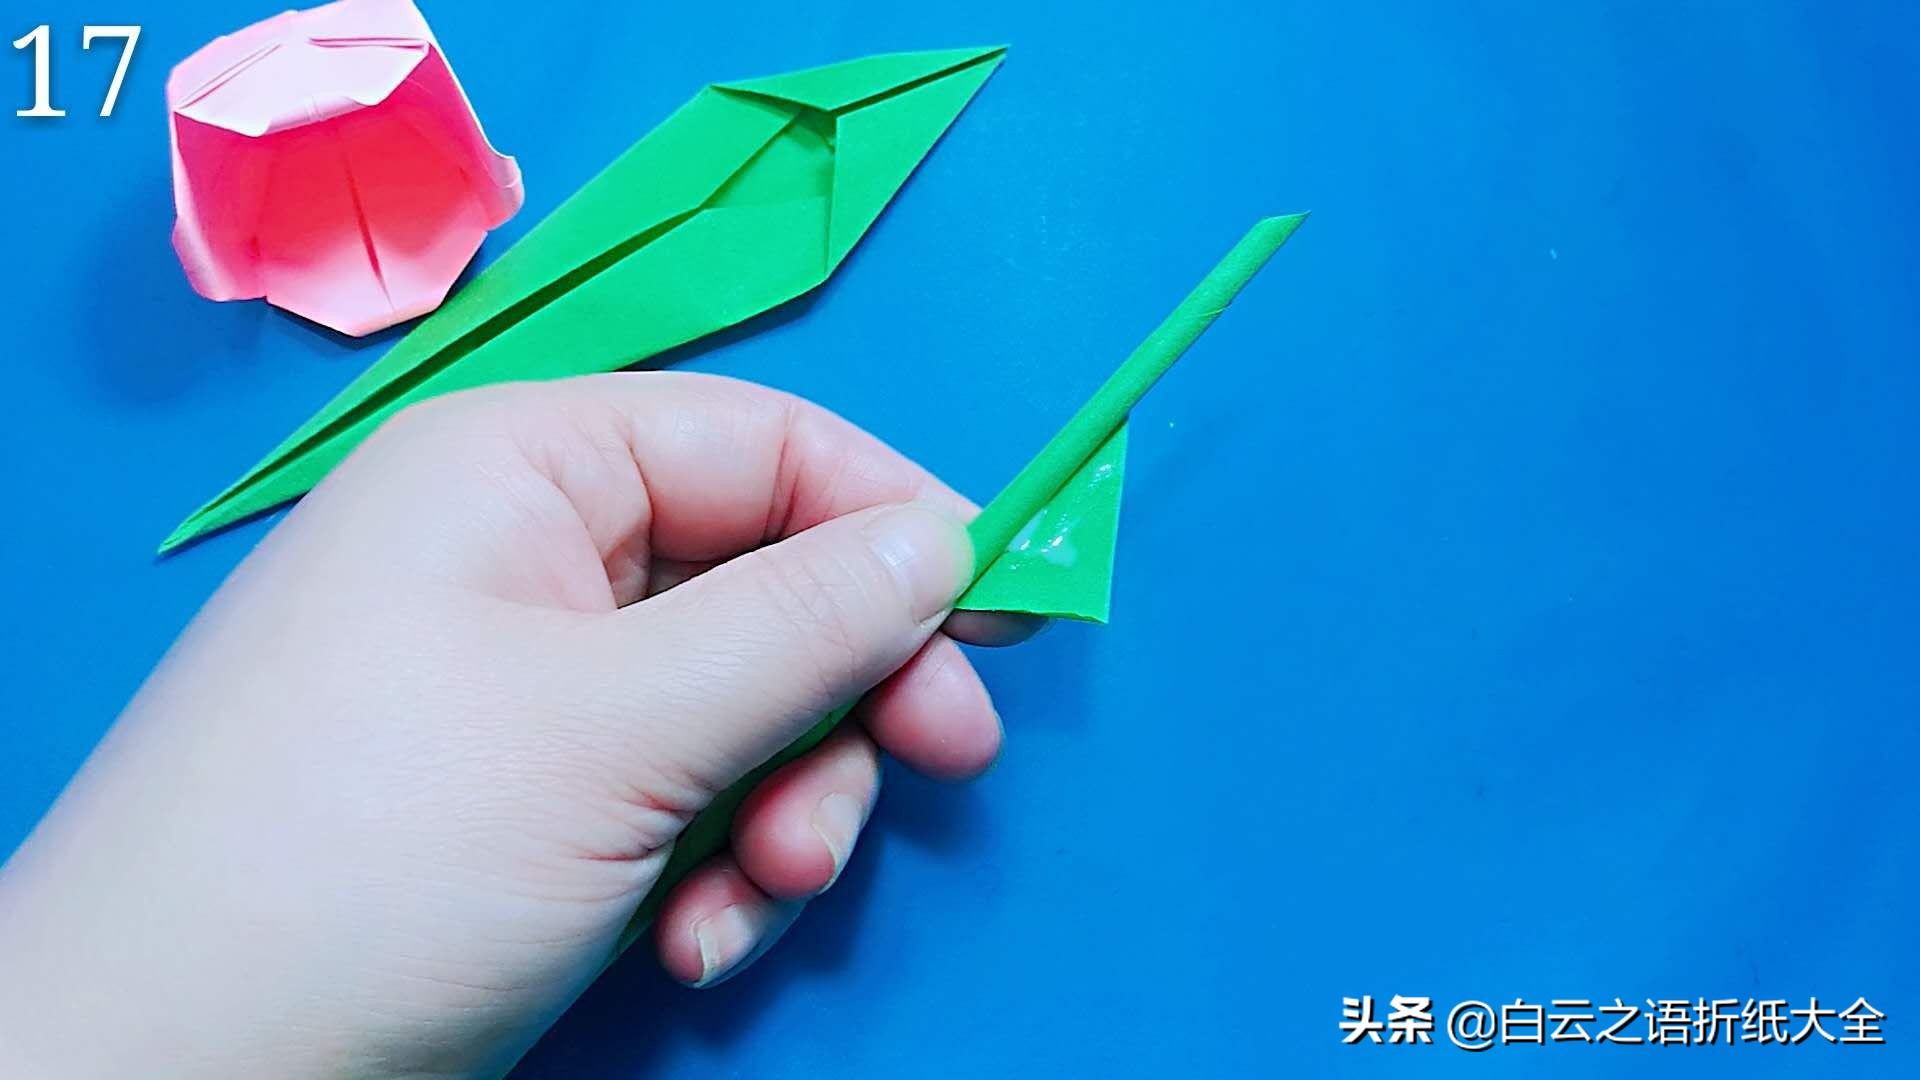
步骤17:我们拿一张纸随机卷出一根花杆,并且用胶水固定好。
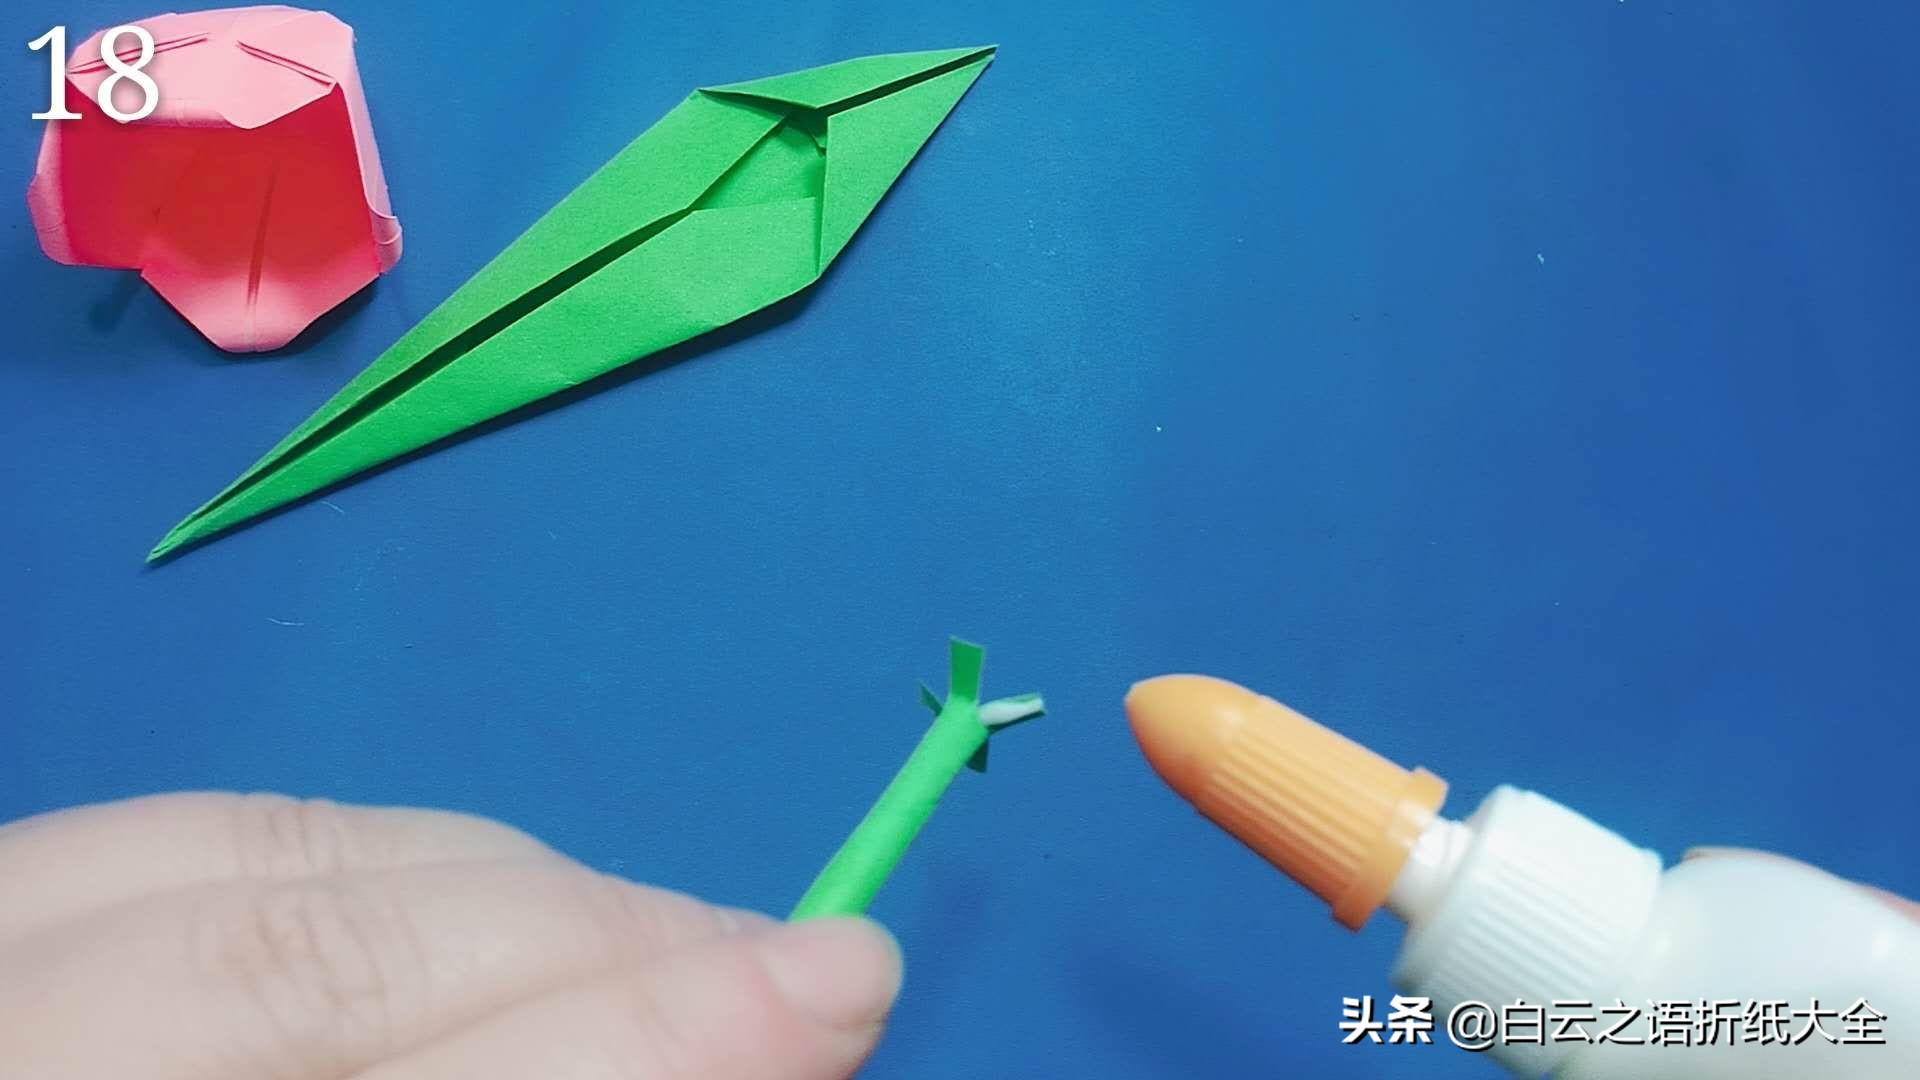
步骤18:把花杆的顶部剪出四个开口,在开口背面涂上胶水。

步骤19:我们把花杆没有剪开口的那一头从郁金香花的上面直接插入,直到底部位置,刚好用胶水固定。
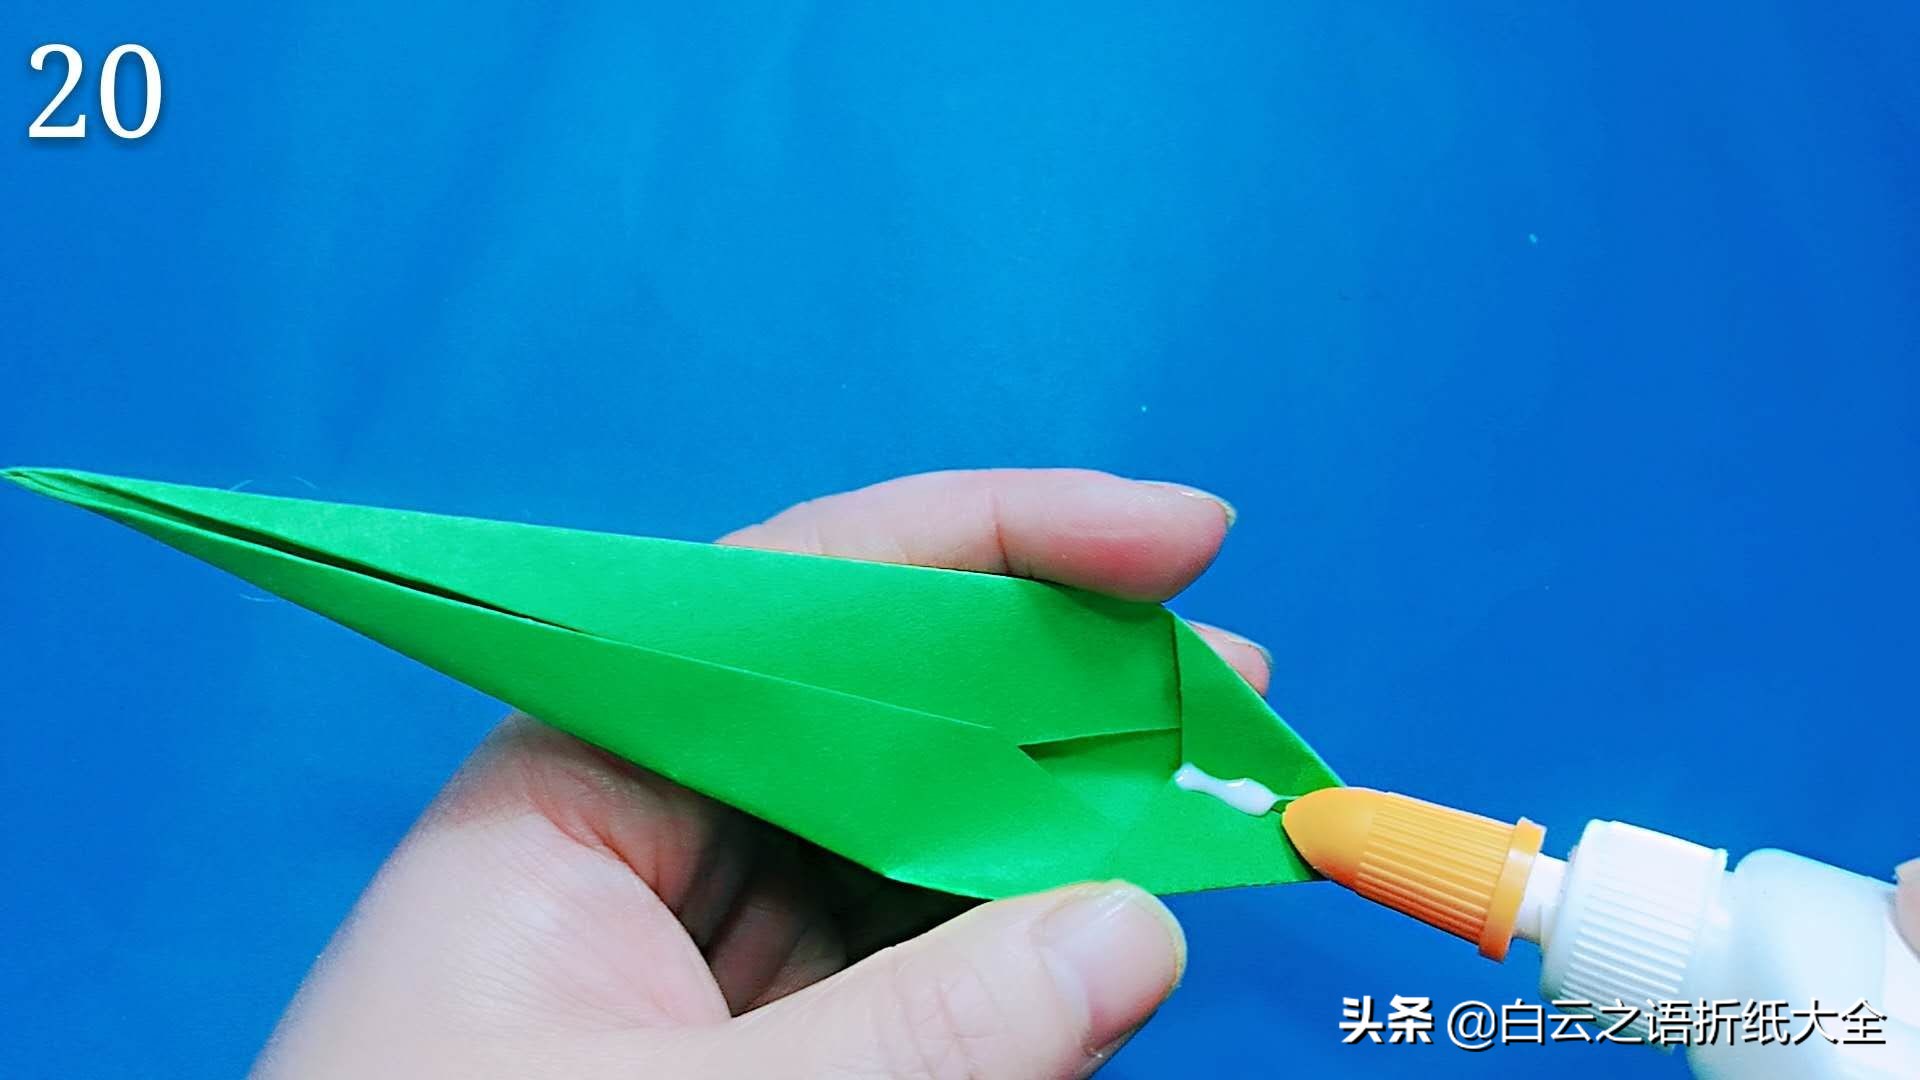
步骤20:我们把叶子底部涂上胶水。
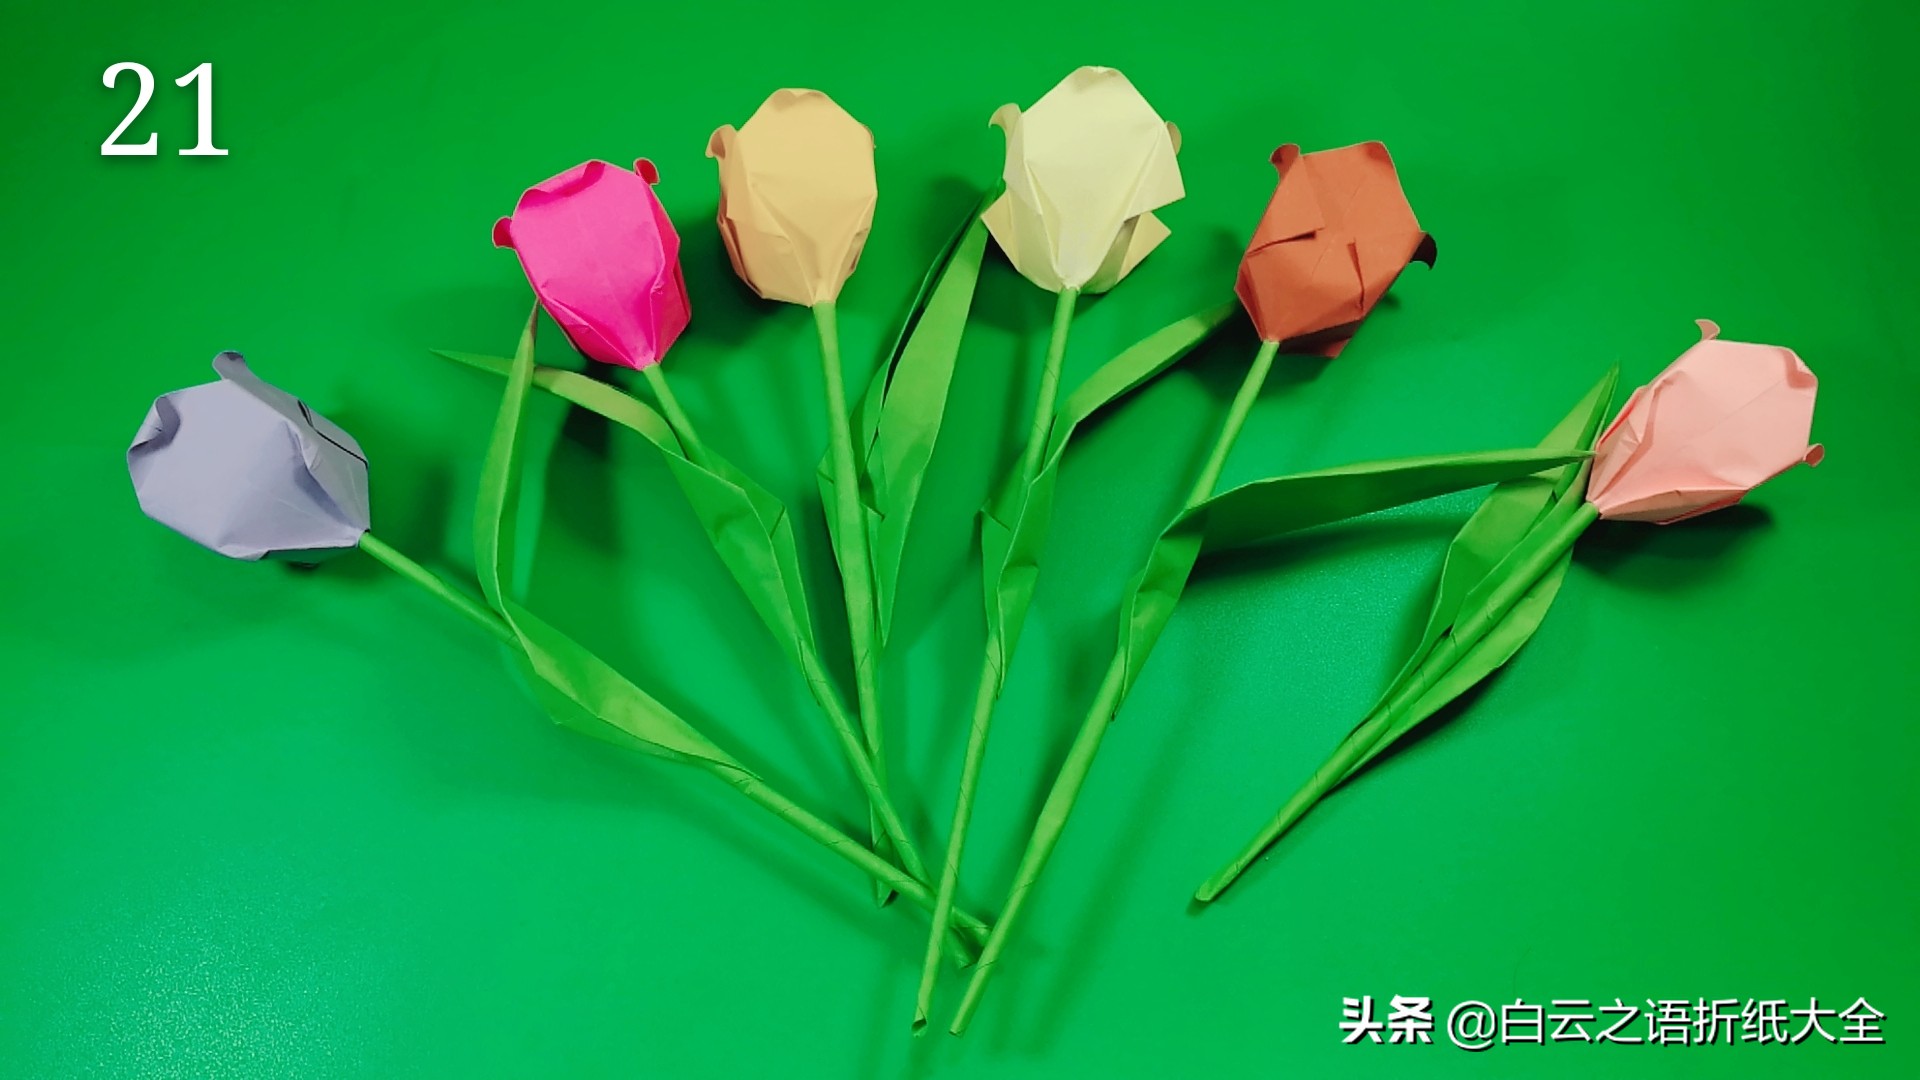
步骤21:把涂上胶水的叶子粘在花杆上面,一朵漂亮的郁金香花就这样折好了,而且我们还要折出好多颜色不一样的郁金香花摆在一起,感受一下你更喜欢哪一朵?